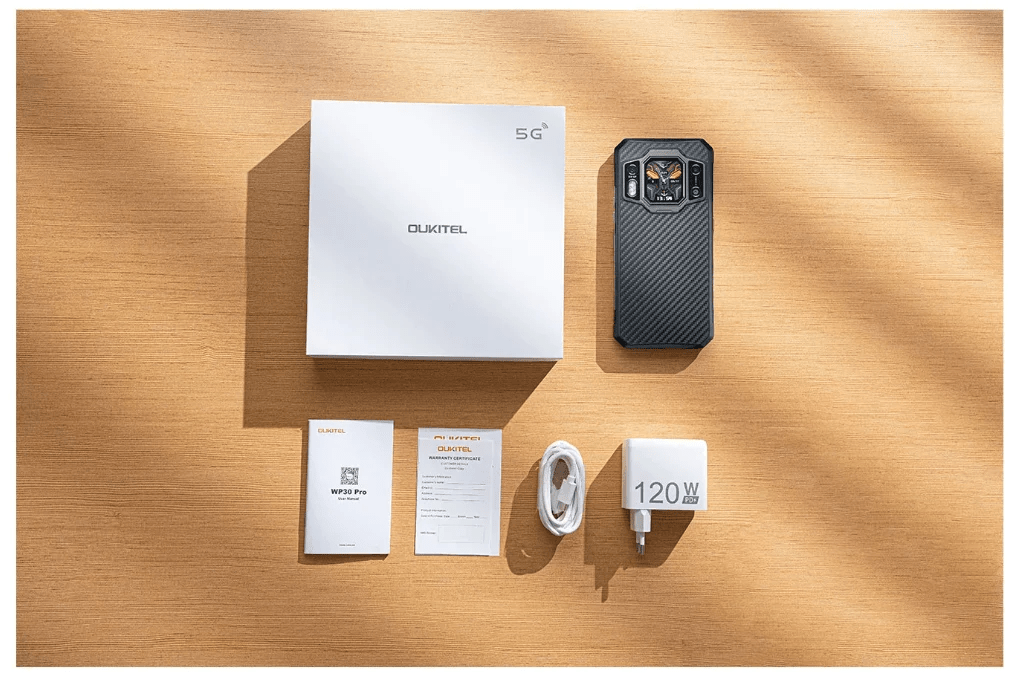
Rooting your Oukitel WP21 smartphone opens up a world of possibilities, allowing you to customize and optimize your device to suit your needs. In this guide, we will walk you through the step-by-step process of rooting your Oukitel WP21. By following these simple instructions, you’ll be able to unlock the full potential of your device and enjoy a personalized Android experience. Let’s dive in and get started!
Step 1: Unlocking the Bootloader
To begin the rooting process, we need to unlock the bootloader of your Oukitel WP21. Connect your device to your computer and enter fastboot mode. Open a command prompt or terminal window and enter the bootloader unlock command. Depending on your device, the command can be either “fastboot flashing unlock” or “fastboot oem unlock”. Follow the on-screen instructions to unlock the bootloader successfully.
To fix fastboot drivers follow this guide https://digitalnerds.in/how-to-install-fastboot-drivers-fixing-fastboot/

Step 2: Downloading the Firmware
Visit the Oukitel website or trusted firmware sources to download the firmware specific to your Oukitel WP21 model. Make sure the build number matches the firmware version you are downloading. Once downloaded, extract the firmware package to a location on your computer for easy access.
The latest firmware at the time of writing this guide is available here (OUKITEL_WP21_EEA_V32_20230607)
Step 3: Copying the Boot Image to Your Device
Locate the boot image file within the extracted firmware package. Connect your Oukitel WP21 to your computer via USB and transfer the boot image file to the root directory of your device’s internal storage or an easily accessible folder.
Step 4: Patching the Boot Image with Magisk
Download the latest version of Magisk Manager onto your Oukitel WP21 device. Launch the Magisk Manager app and select the “Install” option from the main menu. Choose “Select and Patch a File” and navigate to the location where you copied the boot image file. Select the boot image file, and Magisk will patch it, creating a new file called “magisk_patched_XXXXX.img”.
Step 5: Flashing the Patched Boot Image
Ensure your Oukitel WP21 is still connected to your computer in fastboot mode. Open a command prompt or terminal window, navigate to the folder where you have the patched boot image file (magisk_patched_XXXXX.img), and enter the following command: “fastboot flash boot magisk_patched_XXXX.img”. This will flash the patched boot image onto your device.
Step 6: Rebooting and Verifying Root Access
Once the flashing process is complete, enter the command “fastboot reboot” to restart your Oukitel WP21. Allow the device to boot up, and then launch the Magisk Manager app. If you see the Magisk Manager icon in your app drawer, congratulations! Your Oukitel WP21 is now successfully rooted.
Downloads:
- Firmware here
- Platform tools here
- Additional drivers here (Optional)
- Firmware for the build OUKITEL_WP21_EEA_V32_20230607 here
- Maigsk manager here
- Root checker (Optional)
Conclusion:
Rooting your Oukitel WP21 smartphone can unlock a world of possibilities, giving you complete control over your device and the ability to customize it to your liking. By following these easy steps to unlock the bootloader, download the firmware, patch the boot image with Magisk, and flash it onto your device, you’ll be able to enjoy the full potential of your Oukitel WP21. Remember to exercise caution and perform these steps carefully to avoid any issues during the rooting process. Enjoy the newfound freedom and customization options that come with rooting your Oukitel WP21!


