Unlocking the full potential of your Oukitel WP30 Pro is just a few steps away with rooting. Rooting your device allows you to customize and optimize its performance according to your preferences. This guide will take you through a straightforward process to root your Oukitel WP30 Pro, enabling you to enjoy a personalized Android experience. Let’s get started!
Oukitel WP30 Pro Rooting Guide
Step 1: Preparing Your Device
Ensure that your Oukitel WP30 Pro has sufficient battery life to complete the rooting process. Additionally, make sure to back up all important data stored on your device to prevent data loss during the rooting process.
Step 2: Enabling Developer Options
Navigate to the “Settings” menu on your Oukitel WP30 Pro. Scroll down and select “About Phone.” Tap on the “Build Number” option seven times to enable Developer Options. Once enabled, go back to the main settings menu, and you’ll find “Developer Options” listed above “About Phone.”
Step 3: Enabling OEM Unlocking and USB Debugging
Inside the “Developer Options,” locate and enable both “OEM Unlocking” and “USB Debugging” options. These options are crucial for the rooting process, as they allow your device to communicate with your computer and enable bootloader unlocking.
Step 4: Unlocking the Bootloader
Connect your Oukitel WP30 Pro to your computer using a USB cable. Boot your device into fastboot mode by powering it off, then holding down the Volume Down button and Power button simultaneously. Once in fastboot mode, open a command prompt or terminal window on your computer and enter the command to unlock the bootloader. The command may vary depending on your device, but it is typically either “fastboot flashing unlock” or “fastboot oem unlock” Follow the on-screen instructions to complete the bootloader unlocking process.
Step 5: Downloading Necessary Files
- Platform tools here
- Additional drivers here (Optional)
- Firmware for WP30 Pro here
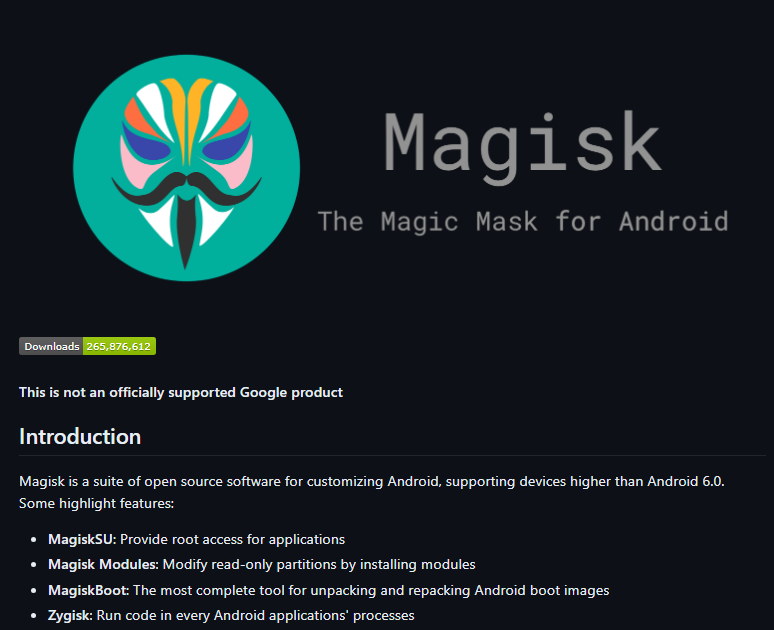
- Maigsk manager here
- Root checker (Optional)
- Fastboot drivers here
Step 6: Flashing Magisk and Rooting Your Device
Extract the firmware package you downloaded earlier and locate the boot image file. Copy the boot image file to your device’s internal storage.
Launch the Magisk Manager app on your device and select the “Install” option from the main menu. Choose “Select and Patch a File” and navigate to the boot image file you copied earlier. Magisk will patch the boot image file, creating a patched boot image.
Once the boot image is patched, transfer the patched boot image file back to your computer. Boot your Oukitel WP30 Pro into fastboot mode again and flash the patched boot image using the following command: fastboot flash boot magisk_patched.img
After flashing the patched boot image, reboot your device by entering the command fastboot reboot. Once your device has restarted, you should now have root access.
Conclusion
Congratulations on successfully rooting your Oukitel WP30 Pro smartphone, unlocking a world of customization and control. With root access, you now have the power to tailor your device to your preferences and explore advanced features.
If you encountered any challenges or prefer a hassle-free approach, consider leveraging the expertise of OneClickRoot. Their skilled technicians can assist you with bootloader unlocking and rooting, ensuring a smooth experience without the complexities. Enjoy the benefits of root access with ease!


2 thoughts on “Empower Your Device: 6 Easy Steps to Root Your Oukitel WP30 Pro”